
How to use Kool-Aid as a hair dye- All you need to know.
Why Dye With Kool-Aid?
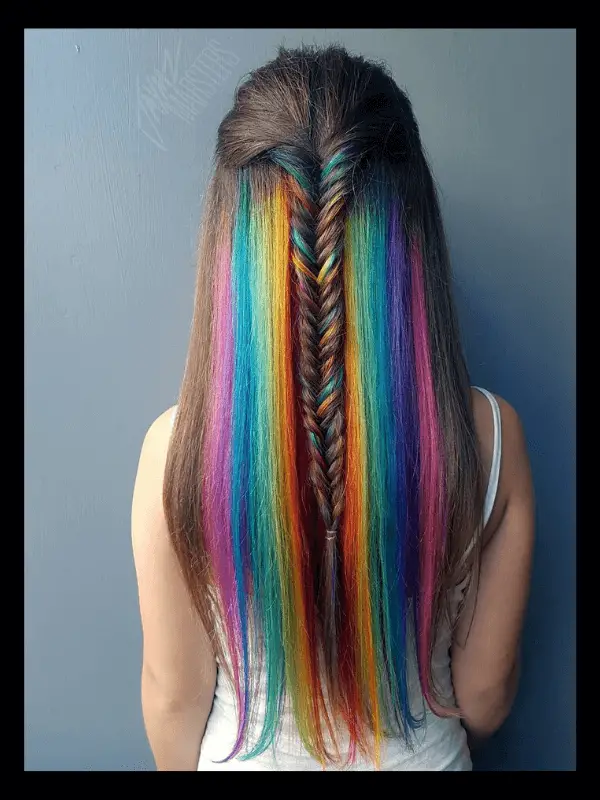
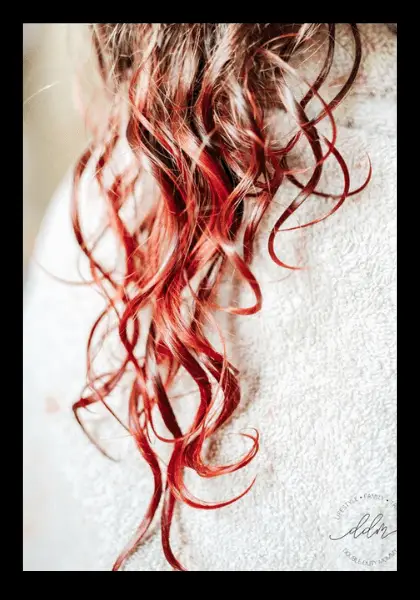
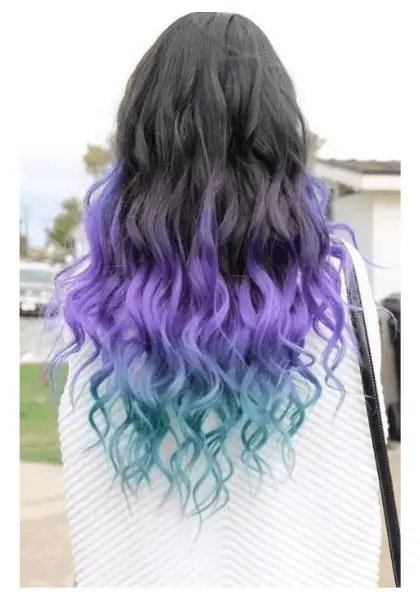
Dying hair can bring out your most colorful side and choices are limitless! Maybe you need to dye your hair entirely or What about getting your tips or roots colored? Maybe you just want a rainbow effect?
(you can skip to Lets Get Started if you already know this stuff)
It’s great for Short Term Color.
When you’re trying to paint a wild color on your hair but don’t want a permanent shade because of school, college, or work obligations, then dyeing Kool-Aid can be a perfect alternative. Most semi-permanent colors are difficult to get out of your hair, even after the color has begun to fade, which is not always desirable.
If you’re looking for dyed hair for a short time— for the holidays, a costume party, or just a color test — then dyeing your hair temporarily with this technique might be a good idea for you.
Dyeing your hair with Kool-Aid is short-term, fairly easy to clean, and will give you the hair color you’re looking for.

Kool-Aid is a Less harsh then Alternative.
One advantage of dyeing your hair using Kool-Aid is that it does not contain toxic chemicals. If you (or your parents or guardians, perhaps) are concerned about traditional hair dye in case it affects your hair or scalp, then this can be a perfect alternative.
Are you looking for some Vibrant colors with out all the chemicals?
Then grab a few packets of Kool-Aid and follow along to learn how to dye your hair with Kool-Aid.
Kool-Aid is much cheaper than traditional hair dyeing and can work quickly even on dark brown hair with and for ten times lees than a salon. This recipe for Kool-Aid hair dye will show you how to dye your hair and the your tips for an extra color pop. What does dip-dyeing mean?
This technique is usually used to dye the tips of the hair, rather than to coat your entire head with dye. Of course, you could also dye our entire head with this process, depending on the container.
Do you hate the smell of that chemical process why dying your hair?
Not only does the use of Kool-Aid on your hair prevent this, but you’ll smell like the brand you’ve used! Delicious!
Many people have noticed that Kool-Aid gives them a certain color, even on relatively dark hair. It may vary— some people managed to paint dark hair brightly and confidently with Kool-Aid, while others managed to shine more or shimmer more to their usual co-workers.
It’s a very rewarding experience to learn how to dye your hair yourself, particularly when people comment on how beautiful your hair looks. They might ask you which salon you went to. You can then confidently say you have done it yourself with some Kool-Aid.
You don’t have to worry about the toxic chemicals when coloring your hair with Kool-Aid. Chemical hair dye will dry out hair, resulting in breakage. But, Kool-Aid is inexpensive minus the chemicals, and it makes it easy to dye your hair on a budget.
Lets Get Started on Dying your Hair with Kool-Aid
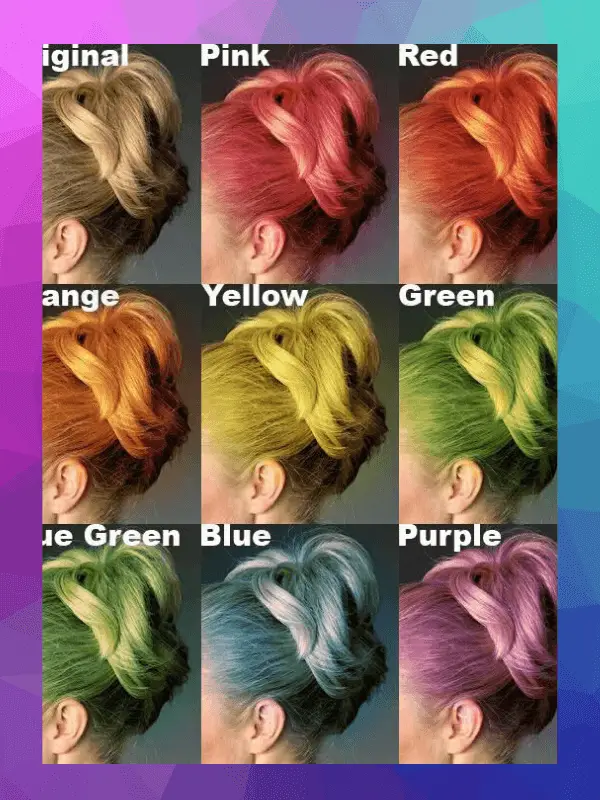
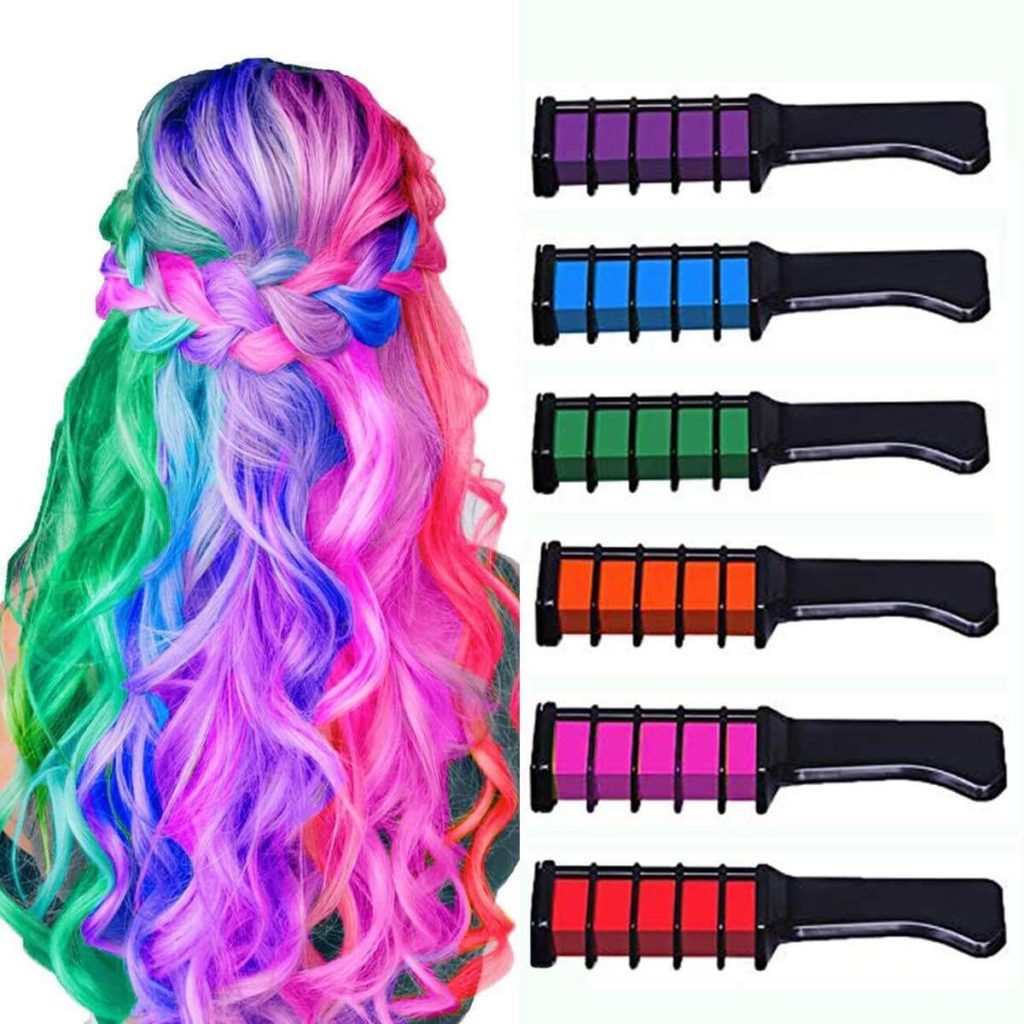
You can use this Kool-Aid color guide for guidance as you work thru the process for streaks or tinting all your hair. Try looking at this Kool-Aid color diagram to select the color you want to dye your hair. Yet in only a couple of quick steps follow down for dip-dyed ends. When the steps are complete, don’t forget to have a paper towel or something nearby to dry your hair.
Lets get started!
Required Materials for using this Kool aid as a hair dye
- gloves- keeps hands from staining
- bowl or large cup- cup is for you hair tips bowl is for more hair
- Kool-Aid- 3 to 5 of your favorite color
- plastic saran wrap- this is to wrap tips
- Plastic hair cap- to place on head to let color set in
- Vaseline- to keep from your hair line and other places from staining
If you want your color to be as temporary as possible, then these are the directions for you.
Some people have dyed their hair with Kool-Aid only to discover the dye is more permanent than they expected. Dying your hair with Kool-Aid is only temporary if you use the right methods. making sure the consistency is watered down is a tip to making this less permanent.
How to Use The Kool-Aid Hair Dye for Temporary Results.
First, find you a nice clear area to work in, most times its going to be the bathroom or the kitchen area. Then, get all you material together. Gloves, bowl or cup, plastic wrap, Kool-Aid, Vaseline etc.. Now that you got a clean space to work in and your materials your going to want to stain-proof yourself and your area.
By this I mean, add plastic wrap, newspaper, or paper towels to the counter. Also add the Vaseline to your hair line and other areas of your skin to avoid unnecessary staining.
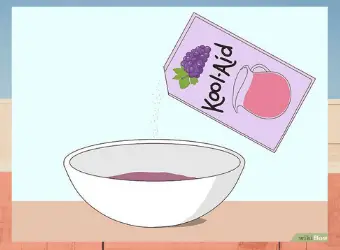
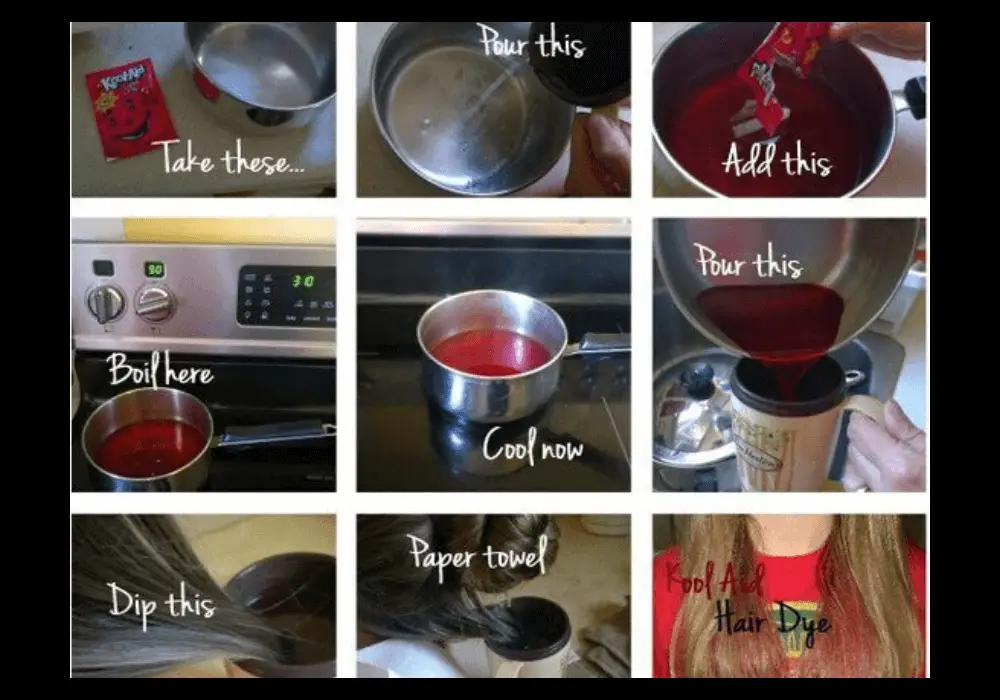
Second, we are going to mix the Kool-Aid.
What you want to do is start with a couple packets. Since we are going for a more temporary stain we are going to want o use cold water. This should help the color stick but make more easy to remove the color.
Tip: the lighter the color of the Kool-Aid water mix the lighter it will be on your hair and vice versa. Meaning if you want more of a lighter color, kind of like a tint, then your going to want your mix to be more watery. If you want darker color then less water will make you hair color deeper and darker. (also helps too if your hair is naturally darker or lighter)
You are going to want to get the color right before you do anything. As this will determine how your hair color will turn out. I also like to take a paper towel and dip it in the Kool-Aid to help me determine how close i am to the color I want my hair.
Third, is for dying your tips. To dye your tips i like to use a large cup but a bowl is fine. Take the desired length of hair that you want to dye and dip it into the mix. I leave my hair in the mix for a minute or two, then take it out and wrap the tip in plastic wrap. By doing this, it lets the hair set in some more. I let the hair sit in the plastic wrap for about approx. 5 min.
I don’t really use a timer i just try to get about 2 or 3 sets of hair tips done then go back and take out the previous ones, but you can time it also.
Go around and get all the desired areas and lengths dyed using this method. Once all complete I the rinse my hair using conditioner this removes the Kool-Aid and replenishes your hair at the same time.
Fourth, if you want to dye more of your hair then you will want to use a bowl. This will allow you to get to more hair quicker. Doing this i will dip the desired amount of my into the bowl, let sit for a minute or two. Then, let as much of the excess out as possible and put my hair into a plastic hair wrap.
Now doing this may not get to your roots. If you want roots you can use a plastic bottle applicator to do the job.
When Using the Kool-Aid for More Permanent Results
Using warm water will be the secret to producing more longer-lasting results with Kool-Aid hair dye.
Side Note: Hot water is never a good hair thing. Hot water dries out the scalp, causing damage and bruising (So it is not recommended). When you are going for a more permanent look, you should first wash and thoroughly condition your hair. The cleaner the better, this helps the Kool-Aid stick to your hair.
If you are warming your water by boiling it, do not use it until it cools to a safe temperature. Matter-a-fact just use the faucet.
the steps are going to be the same as above except the only difference is the temp of the water and using less water. Using warmer water allows the color to take to the hair more and create deeper. darker and more permanent colors. Also by using less water, the color of the Kool-Aid will be more darker as well.
Make sure to that you get the color you want before applying anything to your hair.
- gloves- keeps hands from staining
- bowl or large cup- cup is for you hair tips bowl is for more hair
- Kool-Aid- 3 to 5 of your favorite color
- plastic saran wrap- this is to wrap tips
- Plastic hair cap- to place on head to let color set in
- Vaseline- to keep from your hair line and other places from staining
How Long Does Kool-Aid Hair Dye Last?
The color will last for between two and six weeks, depending on your hair. If your hair has been chemically allowed, straightened, or relaxed, or has undergone a lot of damage, you may find it lasts longer than you would expect.
Kool-Aid can be a great alternative to semi-permanent coloring if you’re trying to make sure your hair doesn’t get affected by chemicals or if you’re concerned about the amount of time certain semi-permanent things take to fade and wash off. Boil a bowl of water on the baking dish once it’s moved to a heat-resistant jar for rolling boil.
Add 2 Tablespoons of baking soda and whisk in the bowl. Dip the hair (up to 30 seconds) in the mud. You can see the dye come off right away. When needed, dip your hair a few times. Afterward, the hair will be very dry, so make sure you are in good condition to rehydrate your hair.


1 comment
Like!! Really appreciate you sharing this blog post.Really thank you! Keep writing.